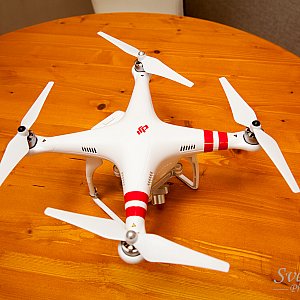
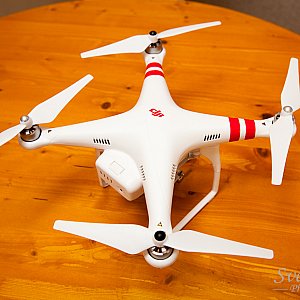
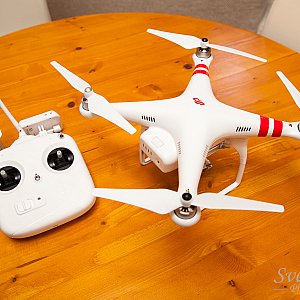
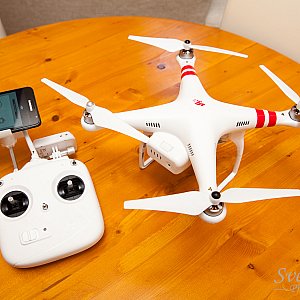
If you want to take a picture from above you have several options. Rent a plane or helicopter, throw you camera as high as possible into the air or buy a multicopter. The most safest and cheapest way is getting a multicopter. The DJI Phantom Vision Plus is such a toy. Everything you need comes straight out of the box. It features a 14MP camera which is able to shoot RAW as well. That feature is actually not that great since it takes too much time to safe such an image to the memory card so I'm currently using JPEG only. Together with a customized case this set lives in your cars trunk and is ready if you need to take some images from above.
So before I get into details about the used software here is a virtual tour which consists of three different panorama images. Don't forget to switch into full screen mode.
Hardware
As I said, you need something that can fly. A multicoper will do. I used a DJI Phantom Vision Plus to capture the necessary images.
AutoPano Pro
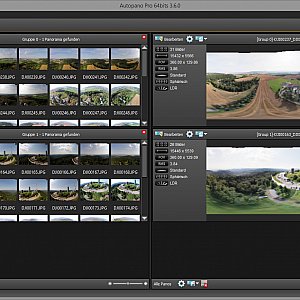
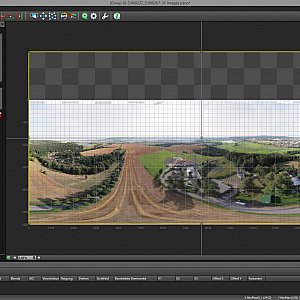
Once you have all the images you need to stitch them together. There are many applications out there which can do this for you. After testing some of them I ended up with buying Kolor AutoPano Pro. It was the only program which was able to combine all those images automatically to the final panorama image. If you want to have a full panorama you need to extend the image height. This will leave some black areas in the image but the next step will fix this.
Photoshop CC
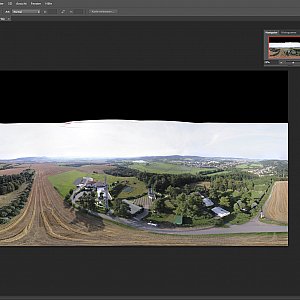
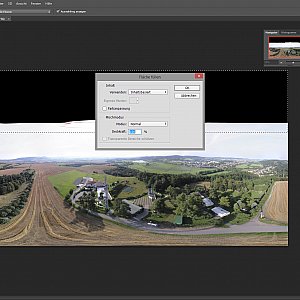
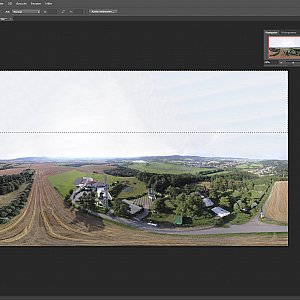
Since the DJI Phantom can not be pointed to the sky the image misses some parts. I use the content based fill from Photoshop to generate the missing sky. Works pretty good.
krpano Panorama Viewer
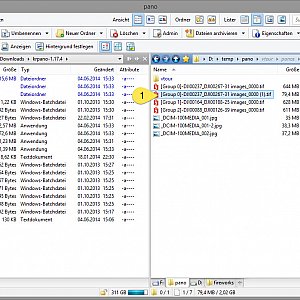
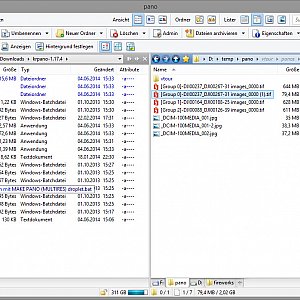
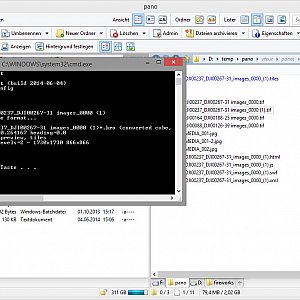
To transform the final image into something interactive I use krpano Panorama Viewer. There is an application Panotour from Kolor too. They're using the krpano code as their base. This is not bad but they are restricting the feature set unnecessarily until you buy the pro version. So I went directly for krpano. There is actually no UI build in. Instead you get a collection of batch files, the so called droplets. Just drag&drop your images to them and they'll convert them into the final tour. The tour offers an html file which let's you edit the transition points between the different images of this tour. You can edit the final XML file afterwards to adjust everything the way you need it. If you can't do this yourself Kolor Panotour is the better tool for you.
